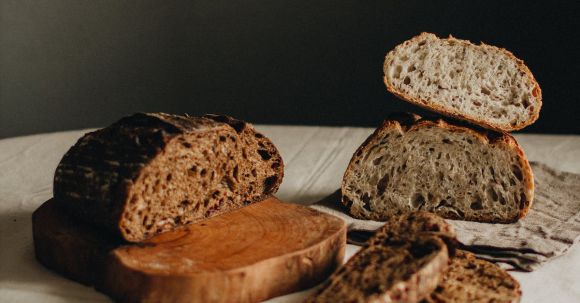
Sourdough bread has become increasingly popular in recent years, with its tangy flavor and rustic texture. Making sourdough bread at home may seem daunting, but with a few key tips and techniques, you can master the art of creating your own delicious loaves. In this article, we will guide you through the sourdough bread-making process, from creating and maintaining a sourdough starter to baking the perfect loaf.
Creating and Maintaining a Sourdough Starter
The first step in making homemade sourdough bread is creating a sourdough starter. This natural leavening agent is made from a mixture of flour and water, which ferments over time, creating a lively culture of wild yeast and bacteria. Here’s how to create and maintain a sourdough starter:
1. Begin by combining equal parts of flour and water in a clean glass jar. Use filtered or bottled water to avoid any chlorine or contaminants that may hinder fermentation.
2. Stir the mixture until it forms a thick, pancake-like batter. Cover the jar loosely with a clean kitchen towel or plastic wrap, allowing air to circulate.
3. Place the jar in a warm spot, ideally between 70-85°F (21-29°C). The fermentation process will take anywhere from 5-10 days, depending on the temperature of your environment.
4. Once a day, discard about half of the starter and feed it with equal parts flour and water. This process, known as “feeding,” helps to maintain a healthy balance of yeast and bacteria.
5. As the starter becomes more active, you may notice bubbles forming and a pleasant, slightly sour aroma. This is a sign that your starter is ready to use.
Baking the Perfect Sourdough Loaf
Now that you have a vibrant sourdough starter, it’s time to bake your first loaf of bread. Follow these steps to achieve the perfect sourdough loaf:
1. In a large mixing bowl, combine 500 grams of bread flour, 350 grams of water, and 100 grams of active sourdough starter. Mix until all the ingredients are incorporated, then let the dough rest for 30 minutes.
2. Add 10 grams of salt to the dough and knead it gently until the salt is fully integrated. Avoid over-kneading, as this can result in a dense loaf.
3. Cover the bowl with a kitchen towel and let the dough ferment at room temperature for 4-6 hours. During this time, perform a series of “stretch and folds” every 30 minutes. This technique helps to develop the gluten structure in the dough.
4. After the final stretch and fold, shape the dough into a tight ball and place it in a lightly floured banneton or proofing basket. Cover with a kitchen towel and refrigerate overnight.
5. The next morning, preheat your oven to 450°F (230°C) and place a cast-iron Dutch oven inside to heat up.
6. Once the oven and Dutch oven are fully preheated, carefully remove the Dutch oven and sprinkle the inside with flour or cornmeal to prevent sticking.
7. Gently transfer the dough from the banneton to the hot Dutch oven, cover with the lid, and bake for 30 minutes.
8. After 30 minutes, remove the lid and continue baking for an additional 15-20 minutes, or until the bread is golden brown and sounds hollow when tapped on the bottom.
9. Allow the bread to cool completely on a wire rack before slicing. This will help the crumb to set and prevent it from becoming gummy.
In conclusion,
Mastering the art of making homemade sourdough bread requires patience, practice, and a bit of experimentation. With time, you will develop a deep understanding of the fermentation process, allowing you to create unique and delicious loaves. So roll up your sleeves, gather your ingredients, and embark on a sourdough bread-making adventure that will reward you with fragrant, crusty loaves that are sure to impress.
